Your Garage, But Make It a Workshop: The No-Fluff Guide to Gearing Up for Real Projects

Photo: Wipsenade at en.wikipedia, CC BY 3.0, via Wikimedia Commons
Somewhere between your third IKEA furniture assembly and that weekend you built a raised garden bed that actually held together, something clicked. You started thinking bigger. A bathroom remodel. New trim throughout the house. Maybe framing out that unfinished basement.
And then you looked at your tool collection — a cordless drill, a hand saw that came in a kit, and a level you've never fully trusted — and realized you're not quite equipped for what you're imagining.
That gap between casual DIYer and capable home renovator isn't as wide as it feels. But crossing it does require being intentional about what you buy and in what order. This guide is built around that transition: how to stock a workshop that can actually handle real work, organized by what you'll need for each major project type.
Start With the Foundation: The Tools Every Workshop Needs First
Before you think about project-specific gear, there's a core set of tools that will serve you in virtually every situation. These are your foundation — the things that should be in place before anything else.
A quality cordless drill/driver combo is non-negotiable. If you already have one, make sure it's 18V or 20V with two batteries. If you're buying new, look at brushless motor options — they run cooler, last longer, and handle more torque. Brands like Milwaukee, DeWalt, and Makita all make reliable options in the $150–$200 range for a kit.
A circular saw handles the majority of straight cuts you'll make on any project. A 7¼-inch blade capacity is standard and handles everything from ripping plywood to cutting 2x lumber. Spend at least $80–$120 here — cheap circular saws vibrate badly and make accurate cuts frustrating.
A tape measure (25-foot), a quality level (48-inch), and a combination square are the measuring trio that keeps everything plumb, level, and accurate. Don't cheap out on the level — a bad one will haunt every project you do.
Safety gear earns its own line item: safety glasses, hearing protection, and work gloves. These aren't optional accessories. They're the cost of doing this work responsibly.
Total for foundation tools if starting from scratch: roughly $350–$500. That's a real investment, but these tools will be with you for decades if you buy decent quality.
For Framing and Structural Work
If you're planning to frame a wall, build a partition, or tackle any structural project, you'll need to add a few specific tools to your foundation kit.
A framing hammer (20–22 oz, smooth face) is worth having even if you own a finish hammer. The weight and balance are built for driving framing nails through dimensional lumber, and you'll feel the difference after an hour of work.
A speed square is a framing staple — fast, durable, and essential for marking cut angles and checking square on studs and headers. They run about $10–$15 and will outlast almost everything else in your shop.
A reciprocating saw opens up demolition and rough cutting in ways a circular saw can't. For remodeling work especially — cutting through wall sections, trimming in tight spaces, removing old framing — this tool earns its spot fast. Budget $100–$150 for a corded version or $180–$250 for a cordless kit.
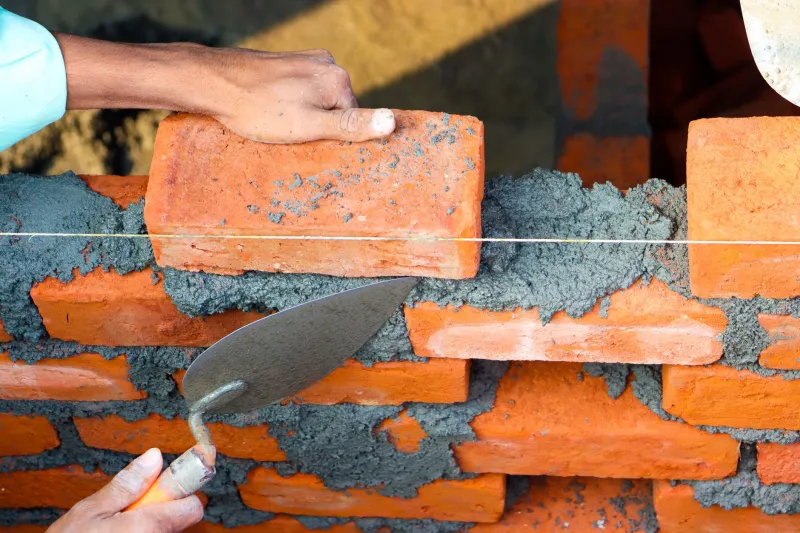
Lumber and fasteners for framing projects should be sourced carefully. Use construction-grade lumber (look for the grade stamp) and framing nails or structural screws rated for the application. This is not the place to substitute.
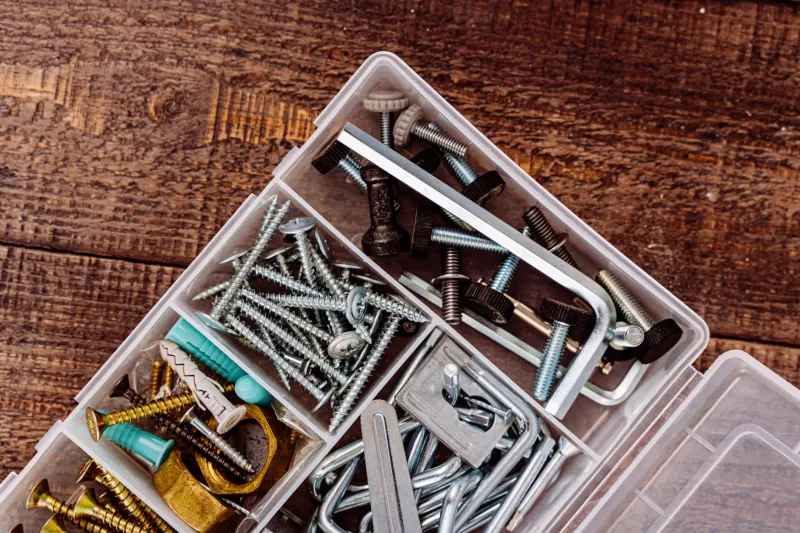
Where to buy: For framing lumber, local lumber yards often beat the big box stores on quality and can cut to length. For fasteners and hardware, independent hardware stores like Shree Ram Hardware tend to stock a wider range of sizes and application-specific options than the generic bins you'll find elsewhere.
For Finishing Work: Trim, Paint, and Cabinetry
Finishing work rewards patience and precision more than raw power. The tools here are different — lighter, more controlled, built for clean results rather than brute force.
A miter saw is the single biggest upgrade a DIYer can make for finish work. A 10-inch compound miter saw lets you cut trim, baseboards, crown molding, and door casing with the kind of accuracy that makes the difference between "looks DIY" and "looks professional." These run $200–$400 for a solid entry-level model. If you're only doing one project, consider renting first — but if you plan to do any ongoing work, buy it.
A finish nailer (15 or 16 gauge, pneumatic or cordless) makes installing trim dramatically faster and cleaner than hand-nailing. A basic pneumatic finish nailer with a small compressor runs about $150–$200 for a combo kit. If you go cordless, budget $200–$300 for the nailer alone.
Caulk guns, putty knives, and sanding blocks are the unglamorous finishing tools that separate a good result from a great one. Buy quality caulk (paintable, flexible) and don't skip the sanding steps. Nobody ever complained that a finish was too smooth.
Paint supplies deserve their own thought. A good brush (2.5-inch angled sash brush), a quality roller frame with extension handle, and proper painter's tape are worth buying at a mid-range price point. Cheap brushes leave marks. Good ones last for years with proper cleaning.
For Electrical Basics (Know Your Limits)
This section comes with an important caveat: electrical work beyond basic fixture replacement and outlet swaps typically requires a licensed electrician and a permit. Know your local code before you start.
That said, there are legitimate electrical tasks a prepared DIYer can handle safely:
A non-contact voltage tester ($15–$30) should be in every workshop. Always verify power is off before touching any wire — always.
Wire strippers, needle-nose pliers, and a multi-bit screwdriver set cover the hand tool needs for outlet replacements, switch swaps, and fixture installs.
A basic multimeter ($25–$40) helps you diagnose circuit issues, test outlets, and confirm continuity. It's not something you'll use every day, but when you need it, nothing else substitutes.
For wiring, boxes, and fixtures, buy from suppliers who stock code-compliant products. This isn't a category to source from discount bins.
Organizing the Space Itself
A workshop that's hard to navigate slows you down and makes projects feel harder than they are. Before you're deep into a project, invest a few hours in basic organization:
- A pegboard wall for hanging hand tools keeps everything visible and accessible
- A sturdy workbench (you can build one for under $150 in materials) gives you a stable surface for assembly and layout
- A basic shelving unit for fasteners, finishes, and consumables sorted by type
- Good lighting — seriously, this is underrated. A couple of LED shop lights on the ceiling change everything
Build It Over Time, But Build It Right
You don't need everything at once. Most experienced DIYers built their workshops over years, buying tools as specific projects demanded them. That's actually the right approach — it means every tool you own gets used, and you learn each one before adding the next.
What matters is that when you do buy, you buy quality. A mid-range tool from a reputable brand will outlast three cheap substitutes and work better the whole time. At Shree Ram Hardware, that's the philosophy behind how we stock our shelves: tools and materials worth owning, at prices that make sense for real people doing real work.
Your garage is waiting. Let's build something.